This article walks you through a step-by-step guide to successfully connect your DE-CIX service with IBM Cloud. It explains how to set up and configure the connection within the DE-CIX portal and IBM console.
Guide
Follow these instructions to ensure a smooth integration.
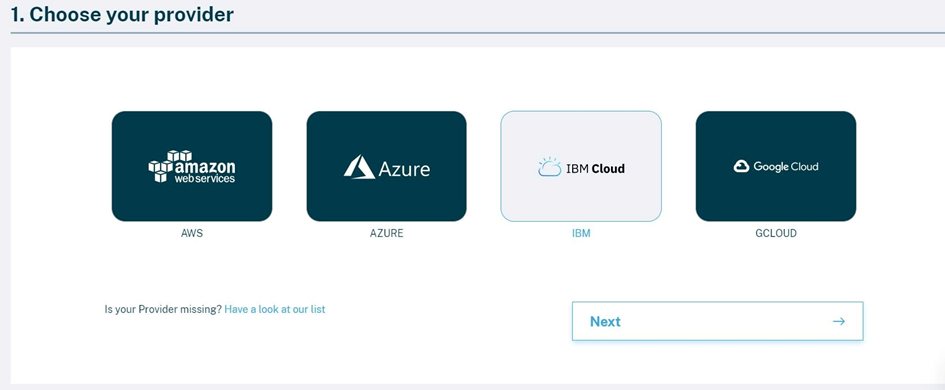
Choose your provider
In the DE-CIX portal, start with Add Service and choose Add DirectCLOUD Service.
If want to create a redundant connection, you must go through this wizard two times. This increases the reliability of the connection.
Click on the IBM Icon to proceed and then push Next.
Provider Credentials
Provide the Account number of the IBM environment you want to connect to. Click on the how-to link for help retrieving this information.
Click Next to proceed.
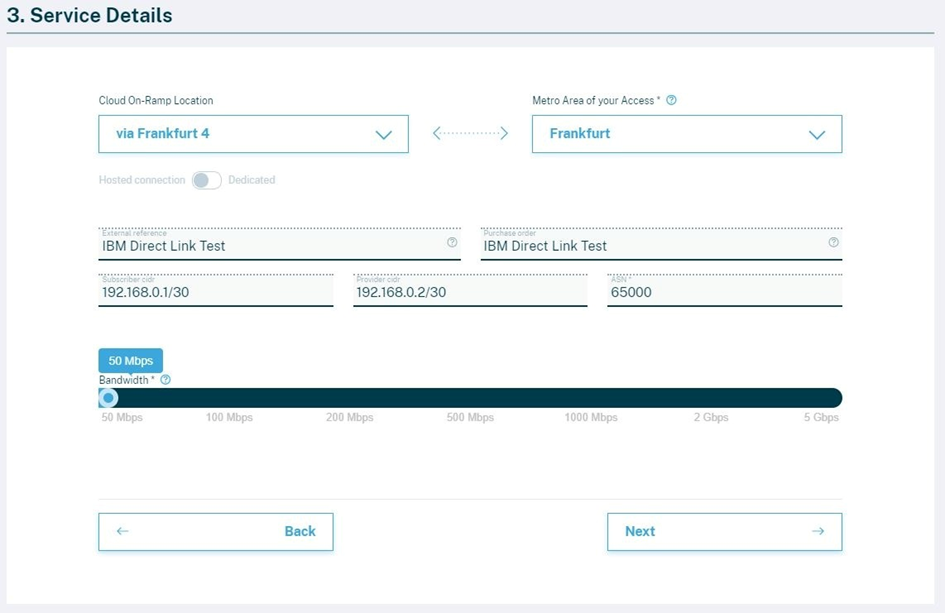
Service Details
Specify the following service details:
Cloud On-Ramp Location: IBM Cloud on-ramp location where you want to get connected.
Metro Area of your Access: Location of your DE-CIX access port.
External reference: Optional.
Purchase order: Optional.
Subscriber CIDR: IP Address of your router.
Provider CIDR: IP Address of the IBM Cloud router.
ASN: AS number of your router.
Bandwidth: Choose the bandwidth of the service.
Click on Next.
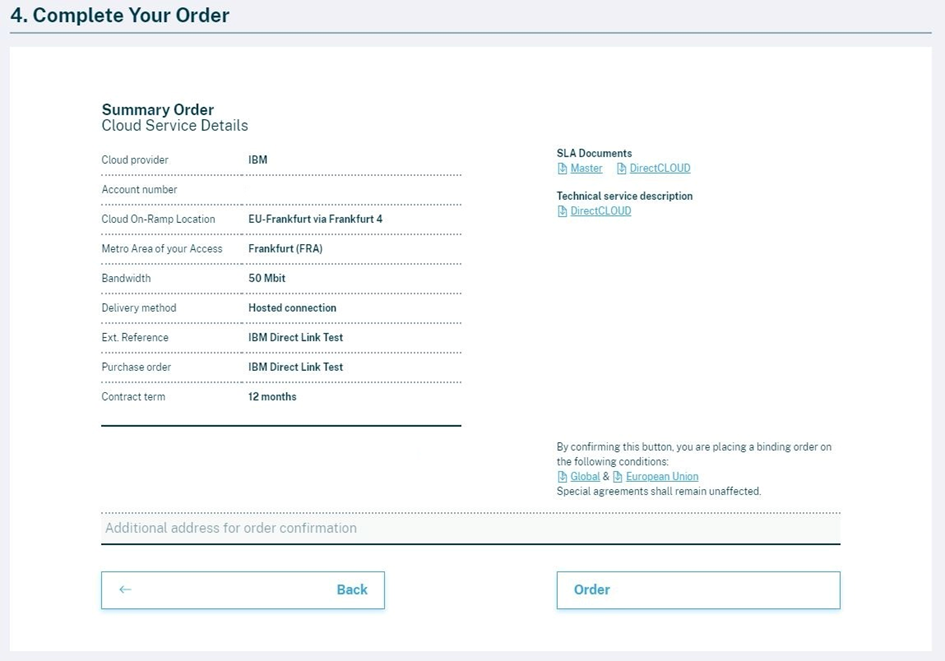
Check all your values and place your order by clicking on the Order button. You can optionally add an additional address for order confirmation.Now the order is processing. Once complete, you see an order confirmation and receive an email.
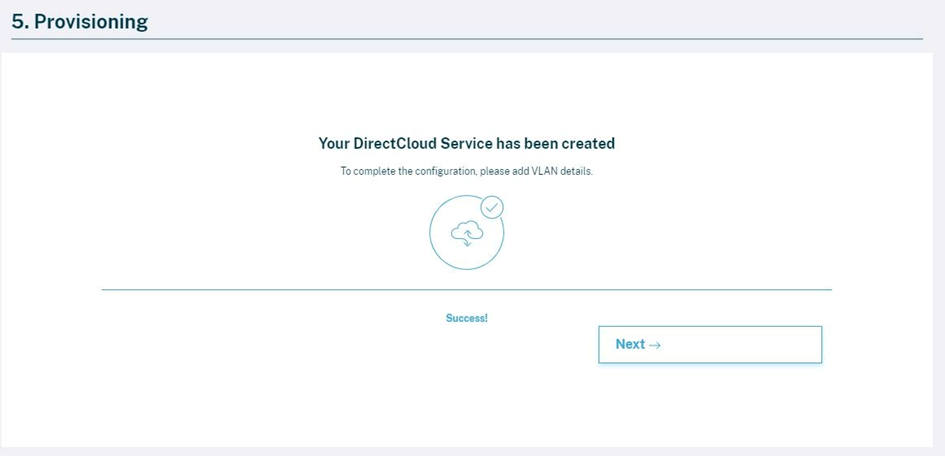
Provisioning
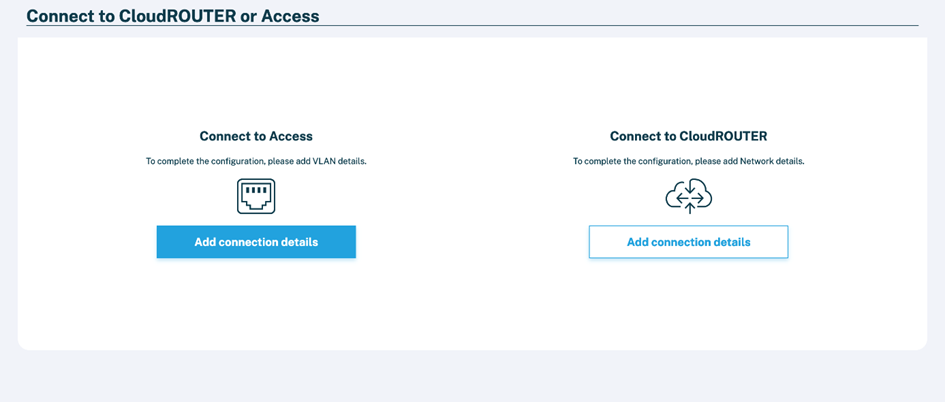
Click on Next to go to the technical part of the ordering process.Based on your configuration you can add the cloud VLAN to either an Access port or a Cloud ROUTER. For this example, we connect it to an access (this is your access port where you have us to hand over the service to you).
Click on Addconnection details.
Configure VLANs
You can choose to complete this step later if needed. For this purpose, click here.
Specify your Access. This is your access port where you want this service allocated.
Specify how we should hand over the service to you. You have the following options within the VLAN Configuration:
port
dot1q
qinq
Depending on the chosen option specify the VLAN and VLAN ethertype.
Click Next to finish the service creation.Now the service is created.
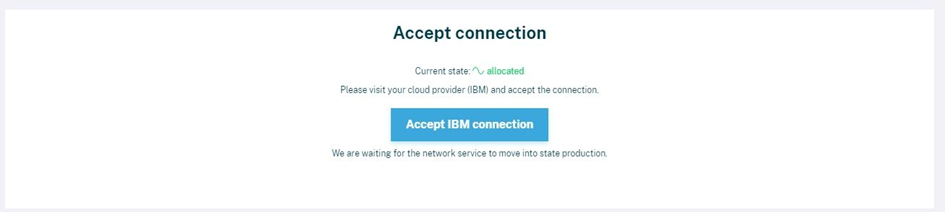
Accept the creation in your IBM console by clicking Accept IBM connection.You are forwarded to your IBM Console, where you have to accept the connection.
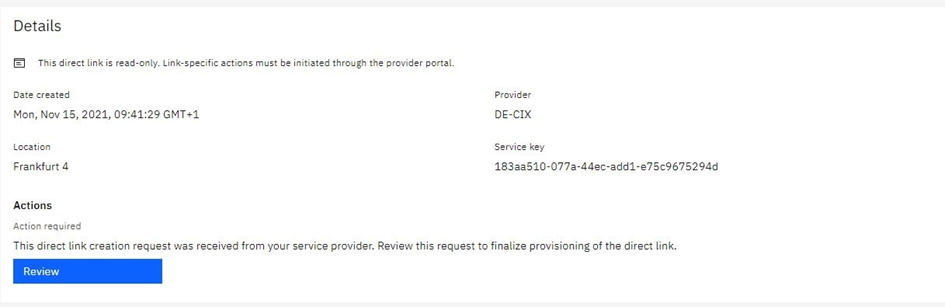
Click Review to finalize the provisioning process.
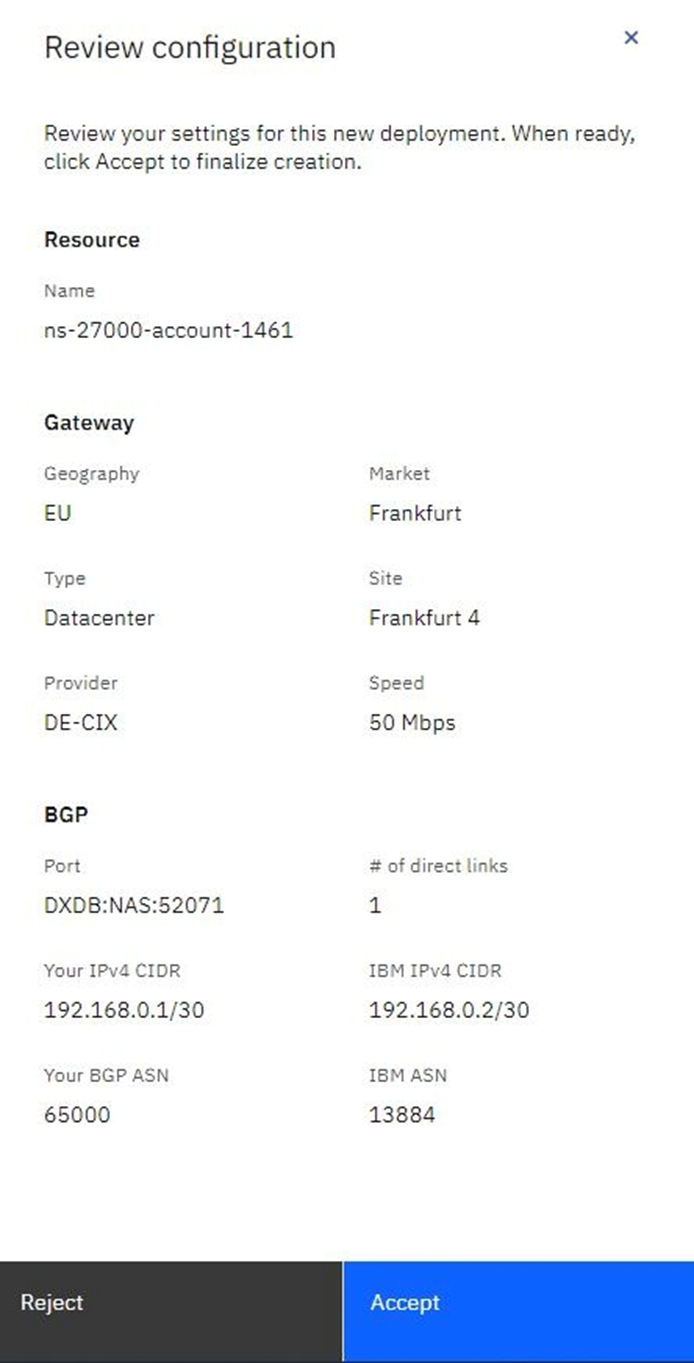
Review your settings and click Accept.
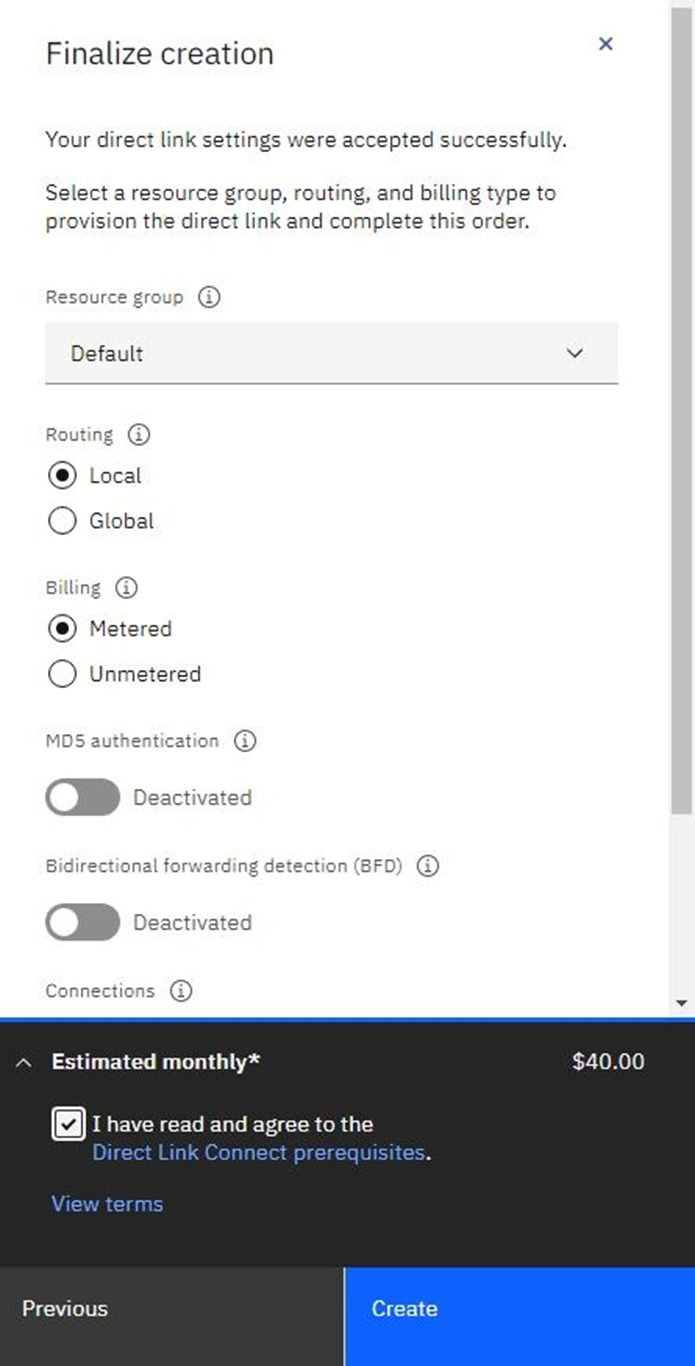
Finalize your creation.
Select a:
resource group.
routing option.
billing type.
Optionally, you can enable MD5 authentication to provide additional security for the BGP session, or update your network connection type.
Review your order summary, agree to the Direct Link Connect prerequisites, and then click Create to complete this order.
Your successfully created your Direct Link.
If you switch back to the DE-CIX portal, it shows the success of this step by switching to the Cloud order completed page.